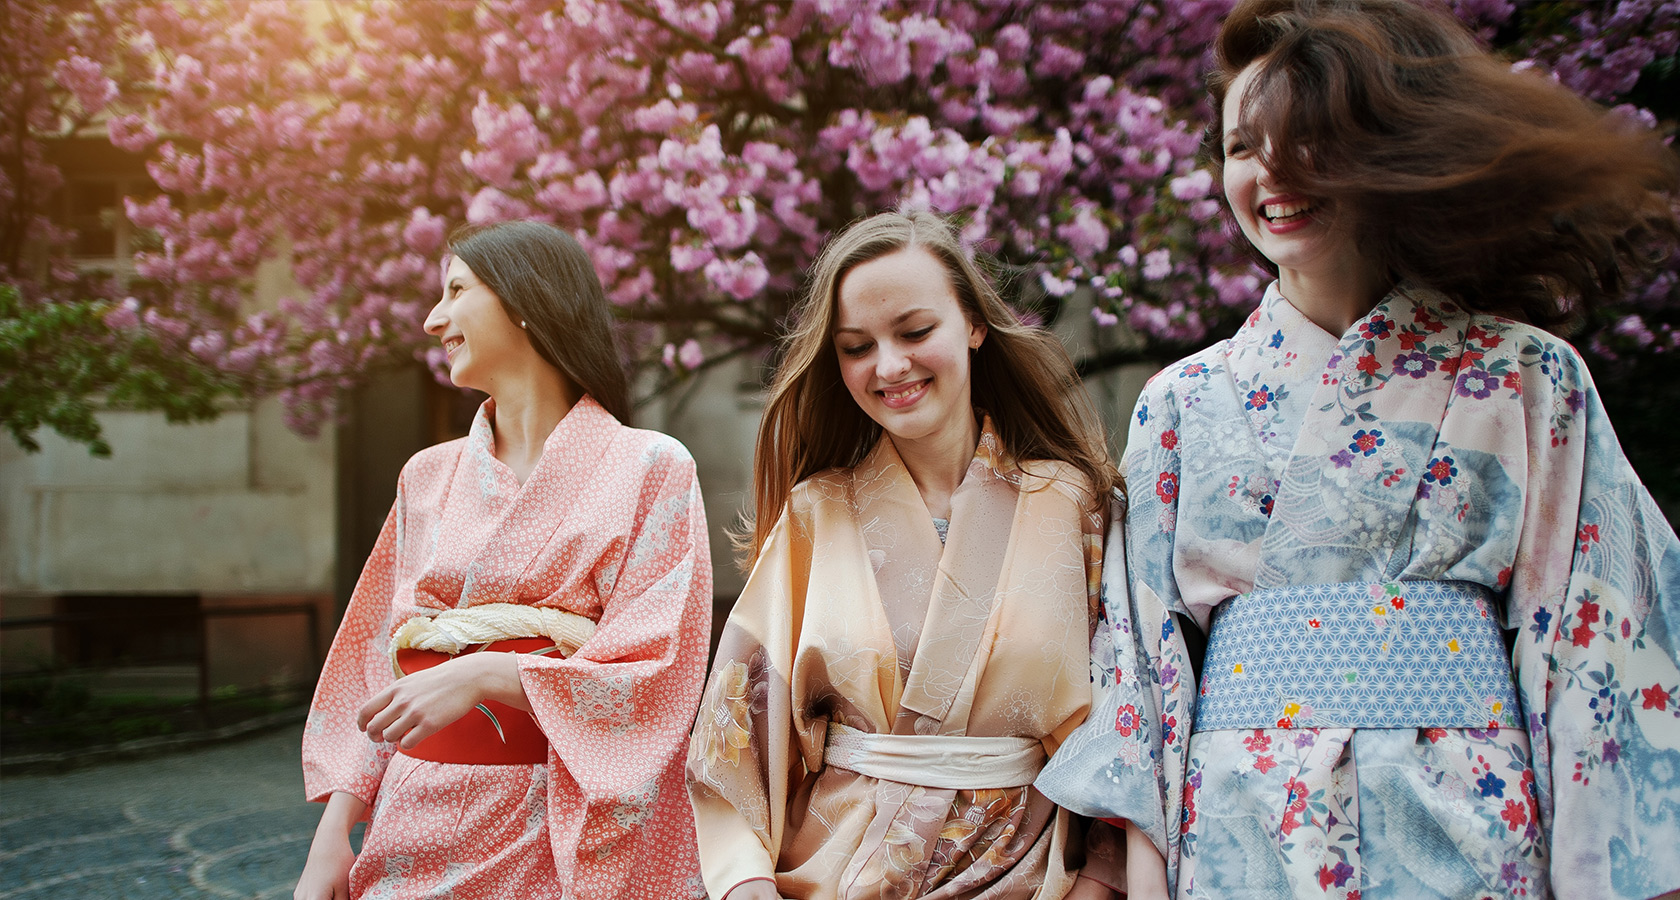
When in Japan, many visitors wish to experience wearing a traditional kimono, and it is not difficult to see why. They are elegant, beautiful and unique. There is a lot to learn about donning this traditional garb so a little research is advised to make sure you get it right.
A perfectly tailored kimono should come to the wearer’s wrist when their arms are resting by their sides, and down to their ankles when they are standing. The female kimono is far more complicated than its male counterpart, but if you follow these simple steps, wearing one should be more fun than confusing.
Getting started
To being you will not only need your kimono, but a number of other items which include:
- Tabi: Socks with a split between the big and second toe, making it easier to wear your traditional shoes.
- Geta or Zori: Traditional slip-on shoes that fit perfectly with the tabi socks.
- Juban: A simple undergarment, most commonly plain white.
- Koshi himo: The first of three belts you will need.
- Datejime: A second belt that is tied over the top of the koshi himo
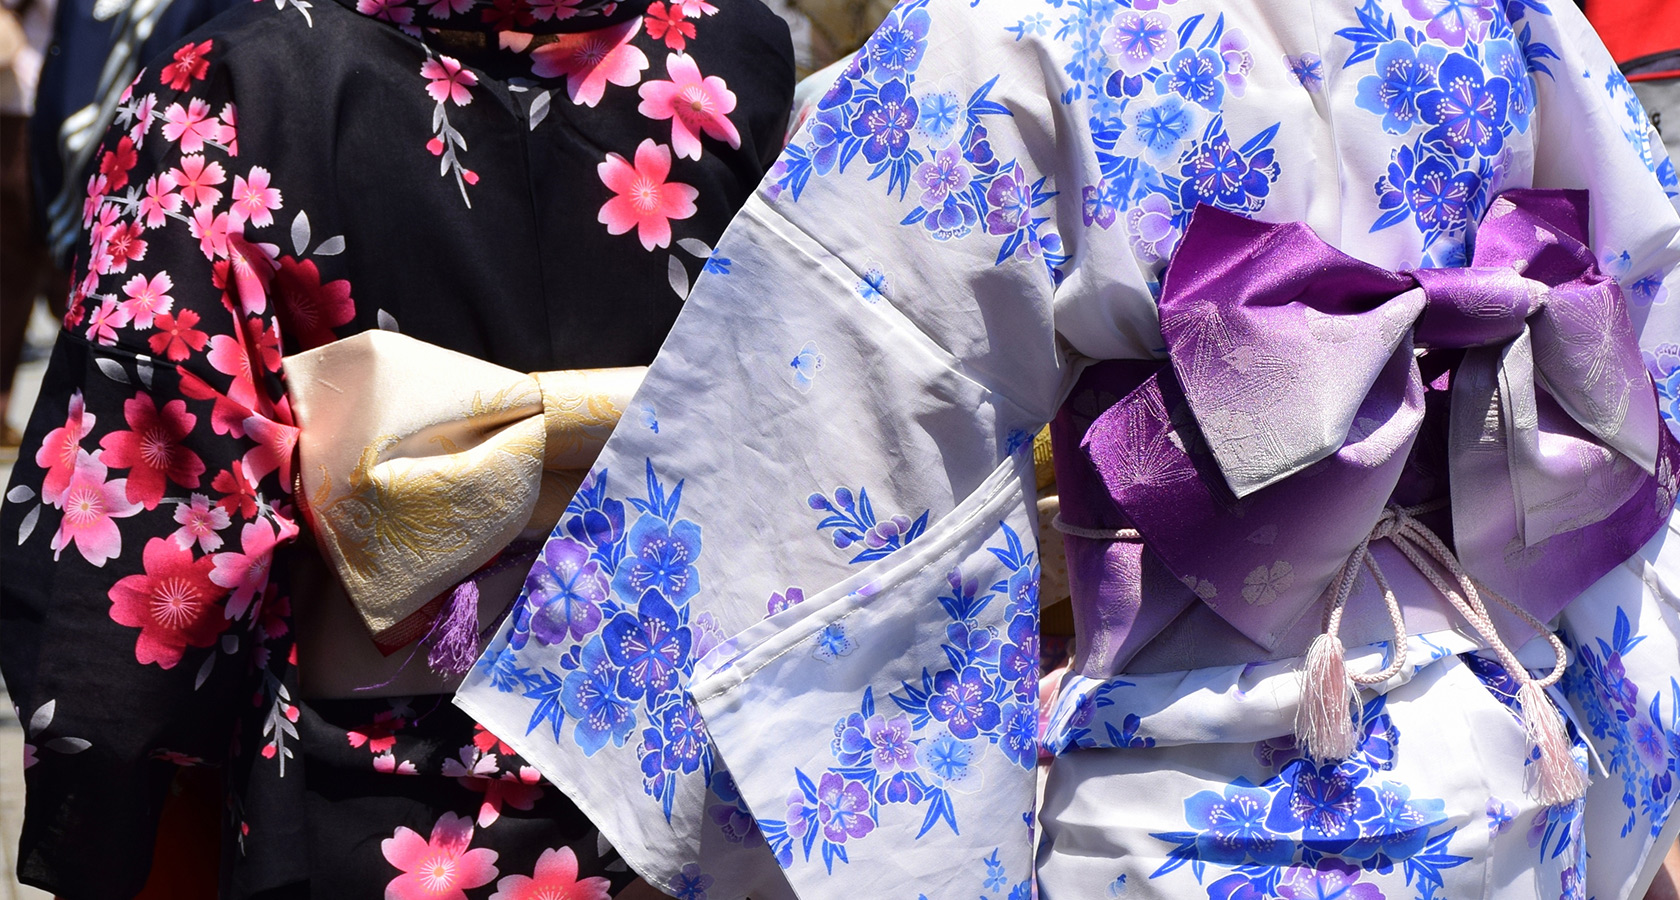
- Obi: The last and only decorative belt, it hides both the koshi himo and datejime.
Step 1: The Tabi & Juban
It’s a good idea to put the tabi on first, as bending down to put on your socks may be a little tricky once you are wearing the kimono. Next, you should put on the undergarment, known as the juban, which is a simple white robe, which has ties on the side with which you can fasten it in place.
Step 2: The Kimono, Koshi himo & Datejime
Now it is time to put on the kimono, make sure the back seam is centred and that the white slip collar is shown evenly around the collar. It is also essential that it is worn left side over right, as the reverse is reserved for the funerary dress of the departed.
Carefully lift the kimono so that it hangs at your ankle, be sure that it is as straight as possible. Holding the kimono in place in one hand, tie the koshi himo belt just below the excess material, then fold said material over in a straight line to cover the belt. The second belt, the datejime, should then be wrapped around your waist, over the top of the koshi himo, and tightly secured.
Step 3: The Obi
The final and most important belt is the obi. There are countless ways in which an obi can be tied. The simplest, however, is to fold it across your waist, tighten it in the centre in front of you. Once you are finished, you can slide it around to your back, check in the mirror or have someone help you adjust the obi so that it is straight and centred on your back.
It might be a little difficult to move at this point, but you should still be able to slip into your geta or zori, and you should be good to go!
Step 4: The final touches
Hair and makeup is required to complete the look. It’s normal for Japanese women to go to a salon before getting dressed, as it can be hot and uncomfortable to sit for hours (yes it can take that long!) in a full kimono. For tourists who are just looking for a fun experience and great photo opportunity, if you want really want to look the part, hair and makeup can be done quite quickly once you are dressed.
The Simplicity of A Gentleman’s Kimono
The process for men is far simpler. The process starts with use the juban underwear and various belts, but the precision and decorative way in which you tie the obi is by no means as important as it is with women, as gentlemen often wear a haori or over-jacket that completely covers the obi’s knot.